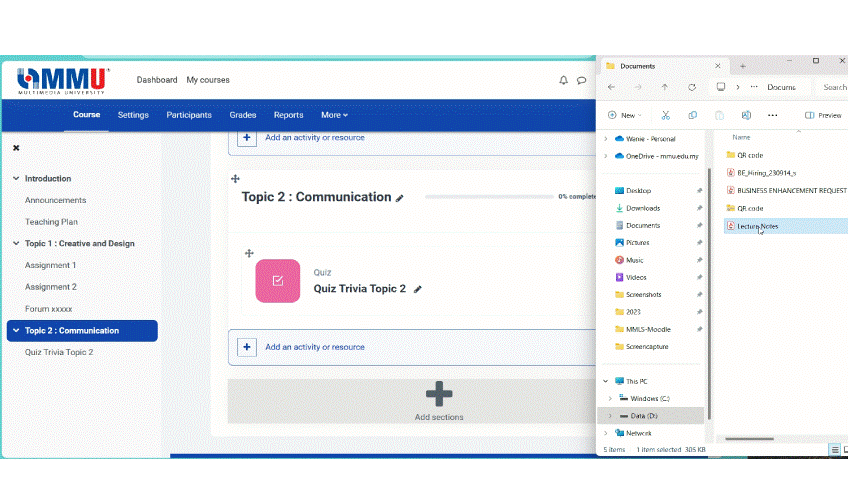
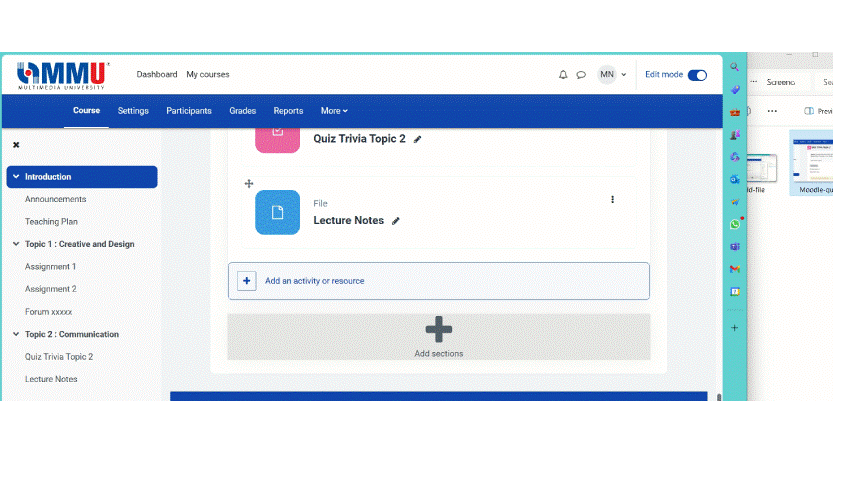
You can easily add files like teaching plan, lecture slides, and readings to your course so that students can access them. There are 2 ways to add files to your course:
“Drag and drop” method
From the “Add an activity or resource” > choose “File”
Tip: If you compress multiple files on your computer to a ZIP file, Moodle will allow you to automatically create a folder resource containing the files when uploaded.
I'm getting an error message that the file I want to upload is too big - what can I do?
This site has a maximum file size that you are allowed to upload. Videos, podcasts, large graphics, and some advanced PowerPoints can have large file sizes that may exceed the maximum allowed size which is 100 MB. There are alternate ways to store these files if you want them in your course. An example would be to store a large file in a cloud storage service like Dropbox, Google Drive, or Office 365 OneDrive and share a link to the file in the course instead of uploading it directly. For videos, you can use a dedicated video streaming site such as YouTube or Vimeo.
Why can't my students open a file I uploaded?
There are some compatibility issues between older versions of MS Office and the most recent versions. When in doubt, save your Word document/PowerPoint as a PDF file. PDFs are viewable on almost every device.
What types of files can I upload?
All common file types are usually supported (Word, PowerPoint, Excel, PDF, Pages, Keynote, ZIP, .mp3, .jpeg, .png, etc). If you need to upload an unsupported file type (if you teach a software course such as PhotoShop, for instance) you can compress the file into a ZIP archive before uploading.