
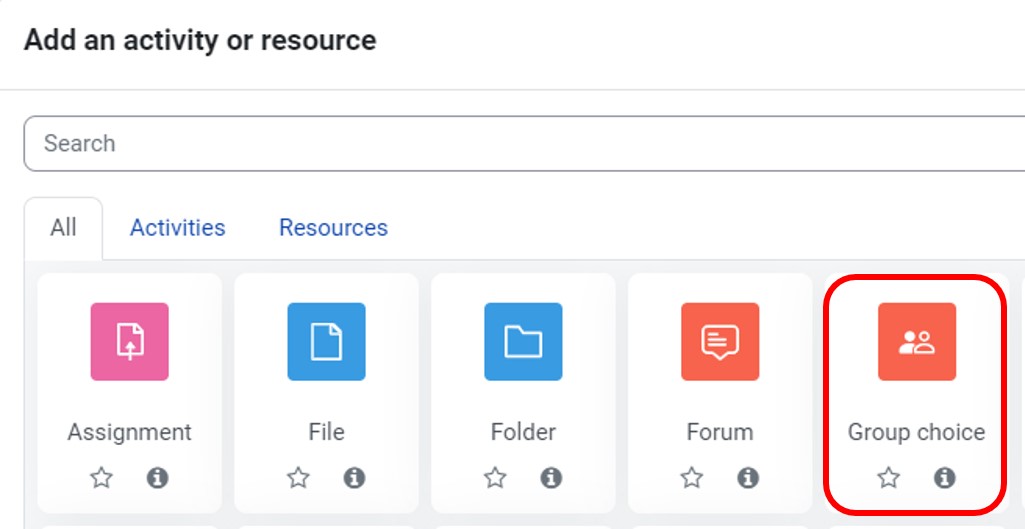
Allow student to choose own group


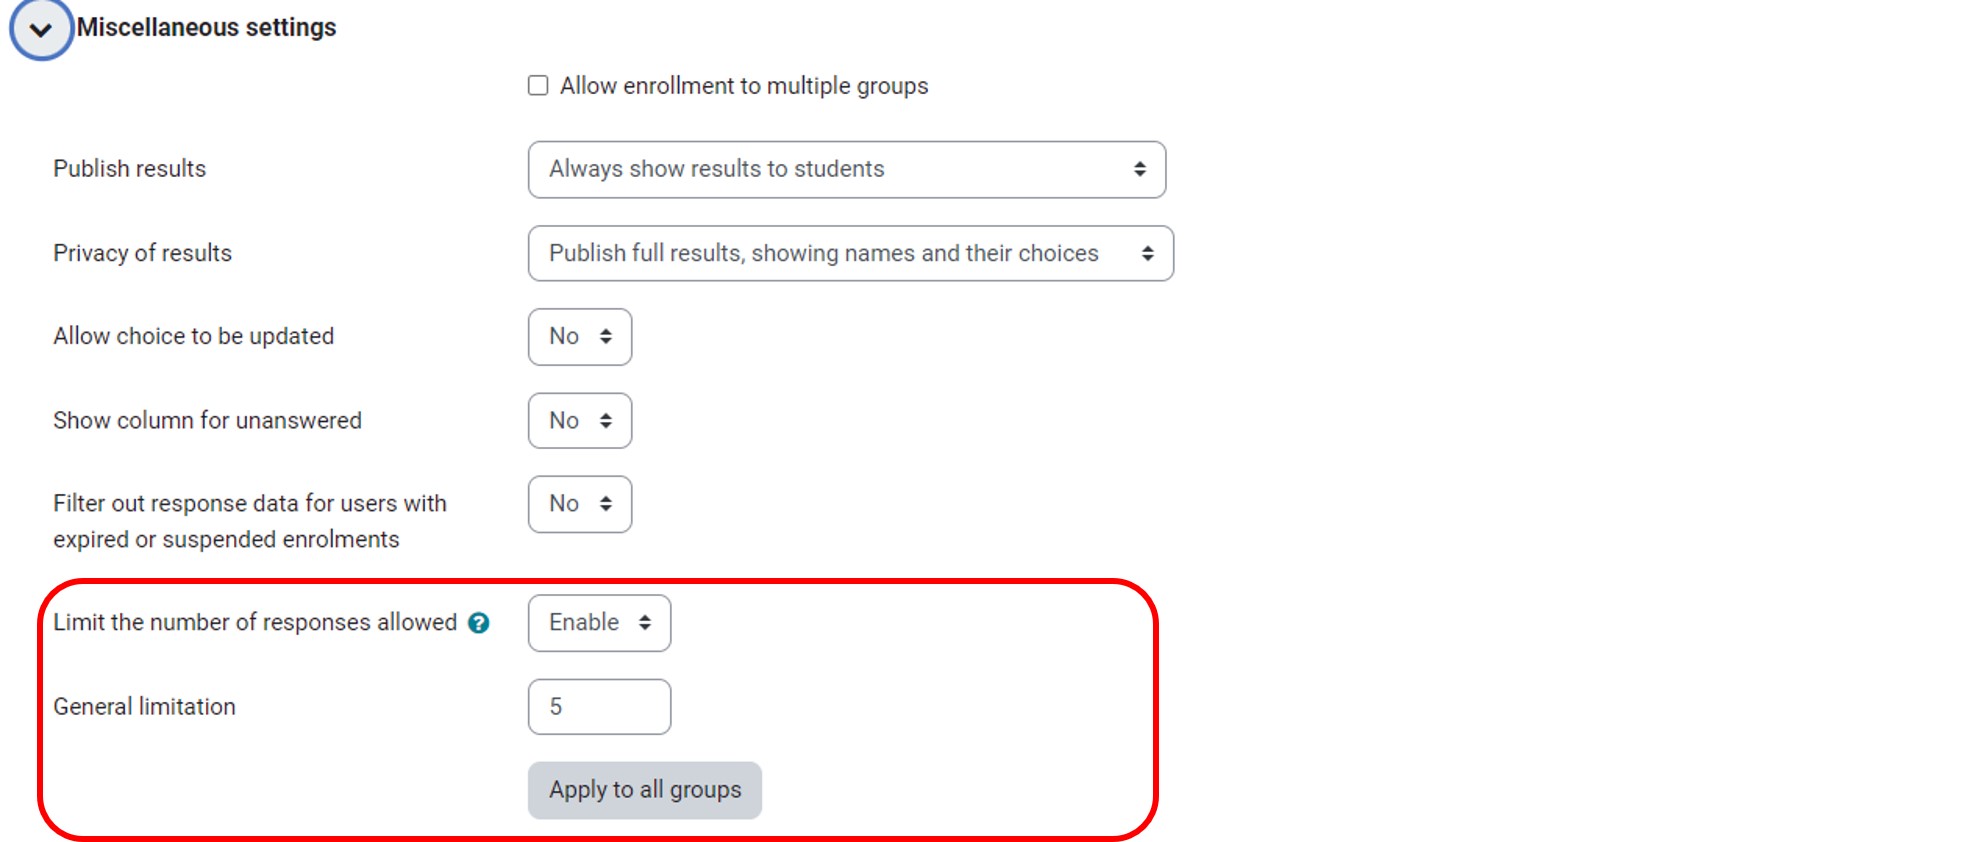
Under Miscellaneous settings:
- Check Allow enrolment to multiple groups if you want to enable students to be part of more than one group.
- Select how you want to Publish results for group choice. You can choose not to publish any results by selecting the Do not publish any results option from the drop-down menu, or choose to Show Results at different stages of the group choice.
- The Privacy of Results can be specified if you choose to publish results. This allows you to publish anonymous results as well as results with details of the students.
- Select Yes from Allow choice to be updated if you would like to allow students to update their choice after it has been made. Otherwise select No .
- Select Yes from Show column for unanswered option if you would like to show a list of students who have not yet chosen a group. Otherwise select No .
- If the Limit the number of responses allowed option is Disabled then any number of participants can select each of the group options.
- If you wish to limit the number of people who can join a group, select Enable . To restrict all groups to the same number of participants, enter the number of people in the General limitation field and select Apply to all groups .
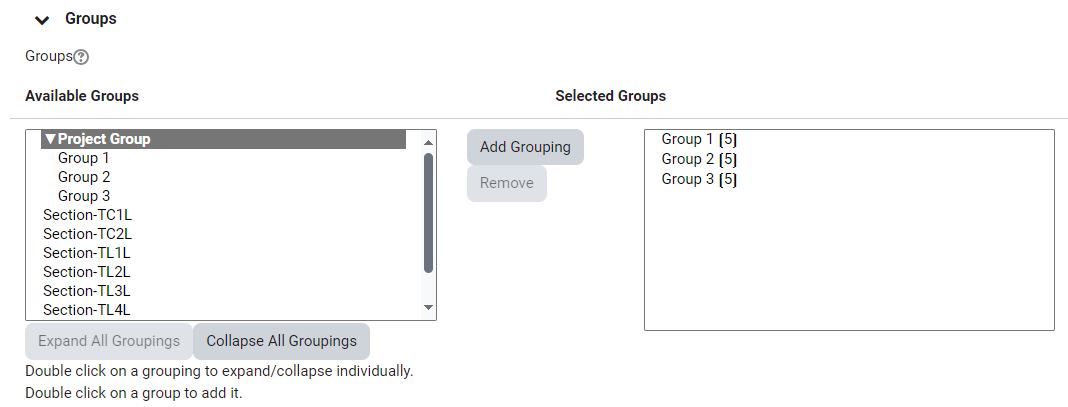
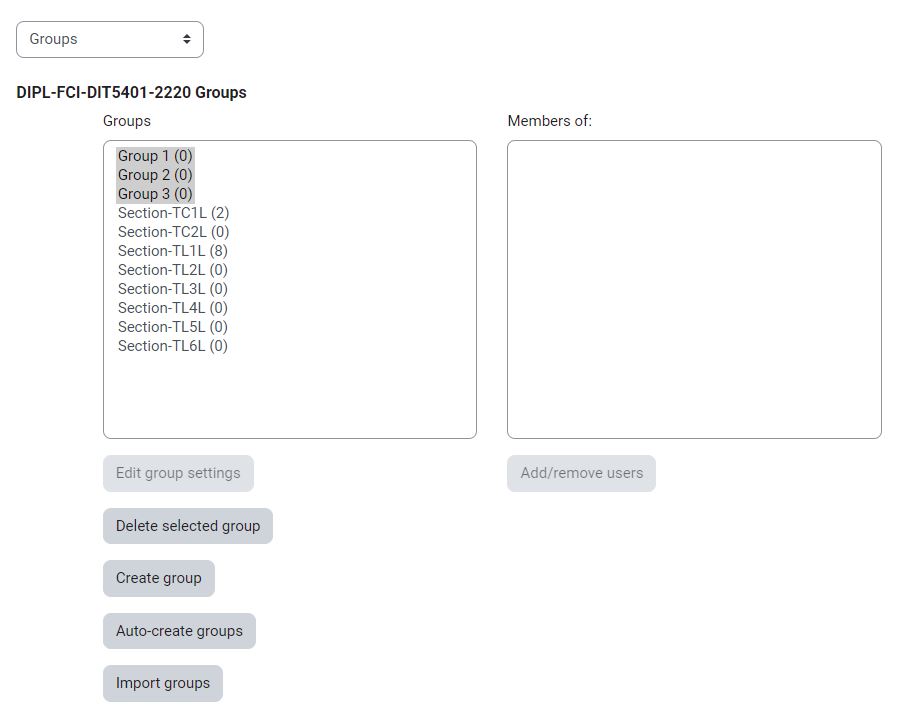
- If a limit for the number of students in each group has been set (under Miscellaneous settings ), the limit will be displayed between brackets next to the group under Selected Groups .
- If Limit the number of responses allowed is set to Enable , a limit for each individual group can be set by selecting the Group name in the Selected Groups column and entering the maximum number of participants in that group in the Limit for Group: input field.